As part of the computer graphics course I’m taking, I was tasked with developing a ray tracer to handle hierarchical spheres, cubes, and triangle meshes. For those of you unfamiliar with ray tracing, it is a rendering technique in which rays are projected from the eye and intersected with the scene to determine the appropriate colour for each pixel. Wikipedia provides a pretty nifty diagram of the whole idea here:

While it can certainly be slow, the technique can produce very realistic images and it lets us avoid the view and projection parts of the rendering pipeline, as the rays exist in world space.
The most basic part of ray tracing is the act of casting a ray from the eye through each pixel. A copy of my notes for this process can be located here. This is an important part of both ray tracing and ray marching (which I am more familiar with).
Of course to actually do anything with these rays you need to be able to intersect them with the scene as well as generate normals at the intersection point. The code for my ray-sphere intersection can be found here, noting that if d is negative there is no intersection. Normals are calculated by taking the intersection point less the sphere’s origin and normalizing.The concept for my ray-AABB intersection code can be found here, and normals are generated simply by checking if the point’s x,y, or z co-ordinate is within epsilon of the appropriate faces. Ray-triangle intersection is discussed here, and normals are calculated by determining the cross product of (P1 – P0) and (P2-P0), where P0,P1, and P2 are the points which compose the triangle. To handle triangle meshes, I first check if the ray intersects with an AABB which encloses the mesh for performance reasons.
To allow for hierarchical affine transformations (scale, rotation, translation) of the objects in the scene tree, each object node was given a transformation matrix and its inverse, for ease of use. As the intersection code progresses from parent node to child, the child’s transformation is accumulated. We use the inverse transformation matrix to convert our ray into model co-ordinates for intersection testing, and the regular transformation matrix to re-convert the intersection point and normal into world-space for the sake of lighting calculations and depth testing.
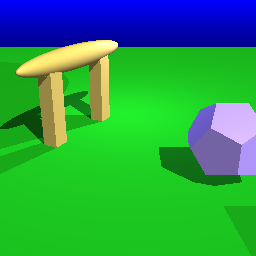
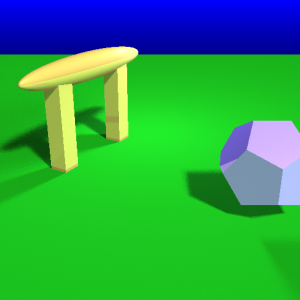
I preform this intersection test against every object in the scene to determine what the closest intersection point is, at which point the actual lighting calculation begins. For this project the Phong Reflection Model was to be used for each light in the scene. In addition, we were to use one shadow ray (a ray pointing from the surface to the light) for each light to determine if the surface was occluded. At this point I was producing renders which looked like this:

The real fun begins with the implementation of extensions, however. In the process of writing this ray tracer, I have implemented three rather simple ones, none of which are especially performance friendly: reflections, supersampling, and soft-shadows.
Reflections were the first I implemented, and require little extra work. After the closest intersection is found and lighting calculated for that point, we apply an attenuation factor and add the colour returned by intersecting a new ray with the scene. In my code we stop after 3 bounces. Our new ray is calculated by setting the intersection point as our origin and the direction as the negative original direction reflected along the surface normal.
Supersampling, a basic form of antialiasing, was the next extension I added. This effect is added by casting multiple different rays through each pixel and averaging their colours to prevent aliasing. I preform my sub-pixel divisions in normalized device co-ordinates, but perturbing the normalized x and y by random amounts less than half a pixel.
Lastly I introduced soft-shadows into my renderings. This effect was implemented similarly to supersampling, except by using multiple shadow rays. Instead of casting a shadow ray in the direction of each light source, I cast some large number of rays “near” each light source – approximating an area light via many point lights.
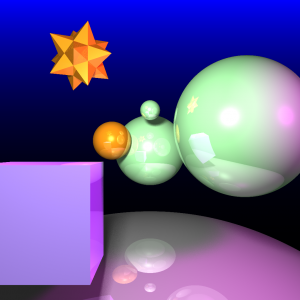
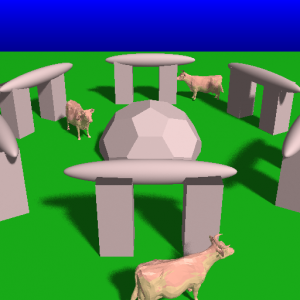
When put all together, I obtained the following sample renders


